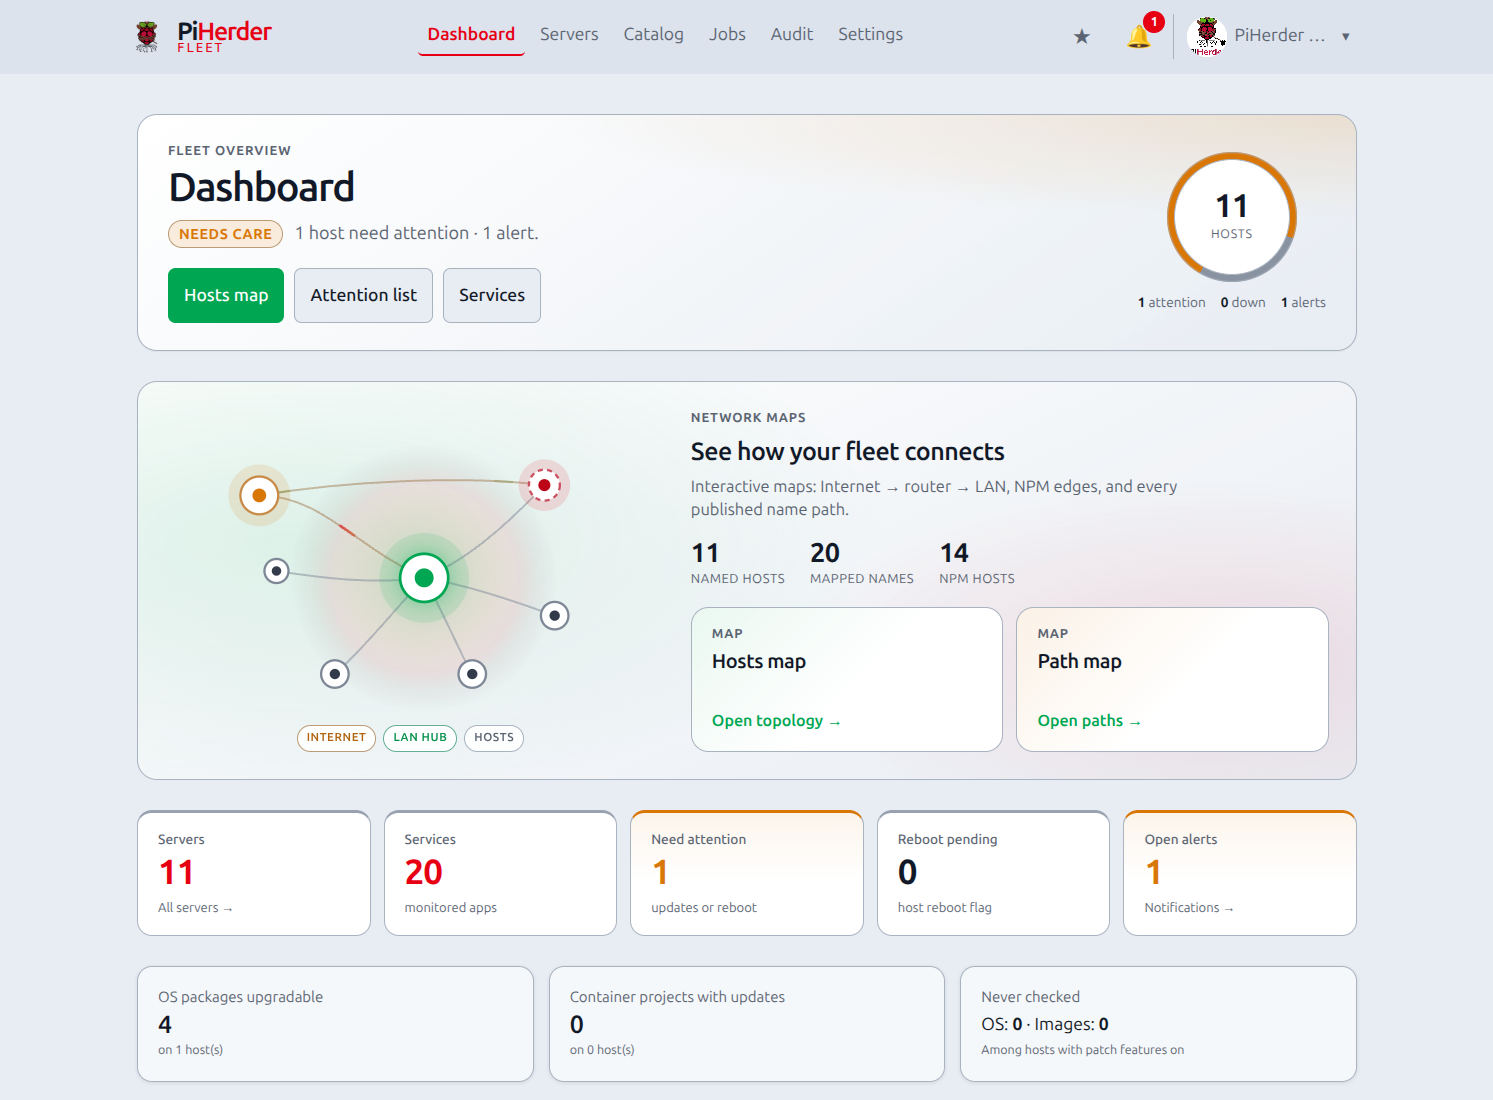
First login
What this is
The first time you open a new PiHerder instance, you register the first human admin. There is no seeded password account.
Why it works this way
Default passwords in compose projects get left on the internet. An empty database allows exactly one self-registration (admin), then closes the door so later users are invited on purpose.
Register the first admin
There is no default user (admin@example.com is not created). An empty database keeps self-registration open for the first account only.
- Open the app URL from Install.
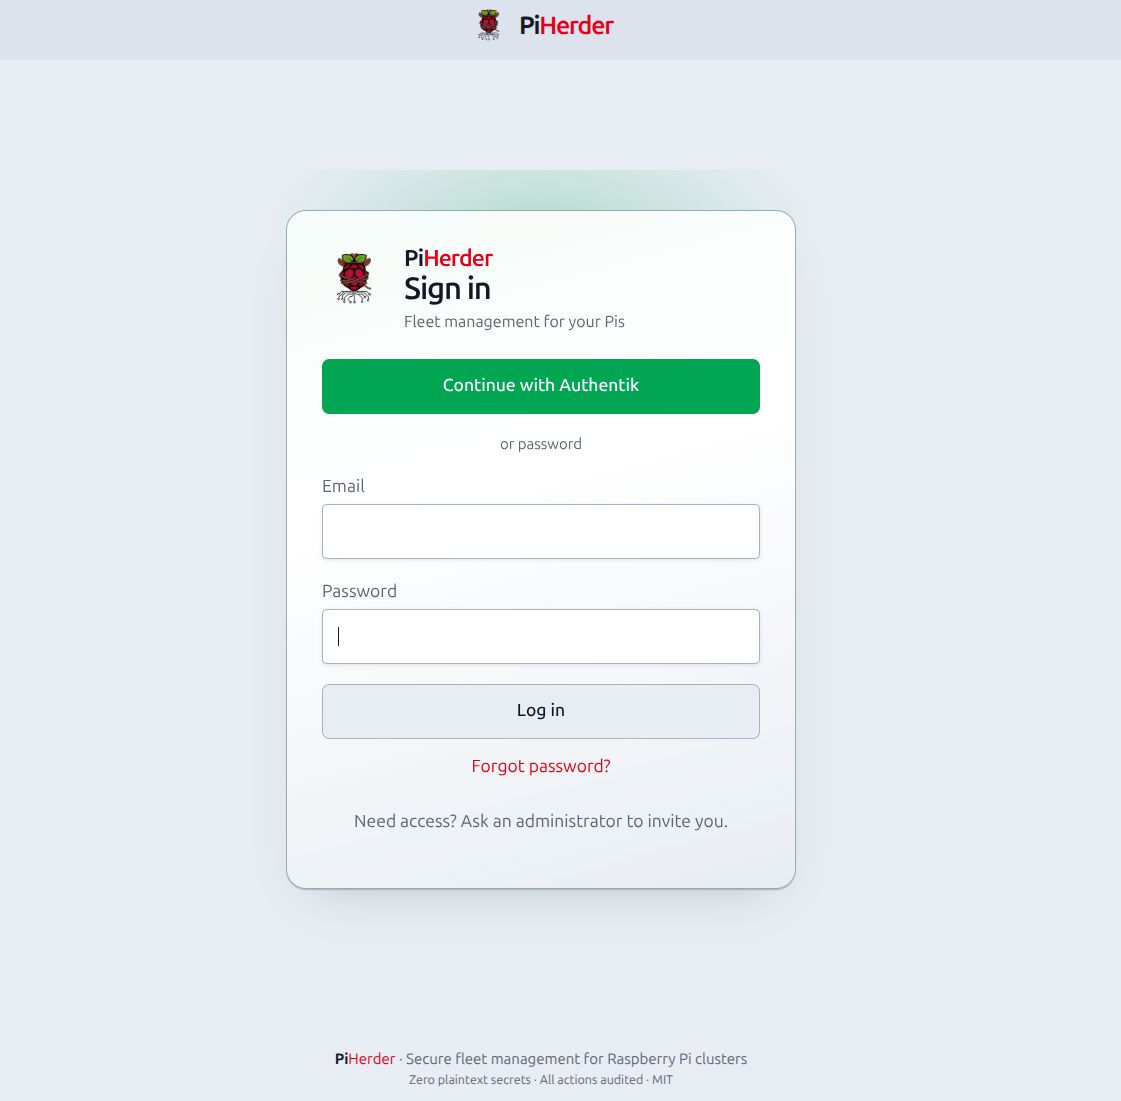
Unauthenticated/redirects to Sign in (no empty public dashboard). - On first start, choose Create account / Register with a strong email + password.
- You are the first user → role admin.
- Self-registration then closes automatically.
Open registration locks after the first account
After the first admin exists, the login screen no longer offers self-registration. New people ask an admin for an invite (Users → Create user). Direct /auth/register explains how to request access instead of a hard config error. Set ALLOW_OPEN_REGISTRATION=true only if you intentionally want public sign-up.
Password policy
Enforced on register, password change, and admin-created users:
- At least 10 characters
- At least one uppercase, one lowercase, one digit
- At most 72 Latin letters/digits (emoji/symbols count as more than one character; enforcement is UTF-8 bytes)
Invited users
Admin-created accounts must set a personal password on first login (/auth/force-password), then optional force-2FA if enabled. Temporary passwords appear once on create — see Users.
Locked out after first admin?
There is no default password. Forgot password works when SMTP is configured (Alerts); reset links use PIHERDER_PUBLIC_URL only. If you forget the sole admin password (or lose 2FA) and email is not set up, use host Docker recovery — Locked out / sole admin — or create a second admin while you still can.
If you set ALLOW_OPEN_REGISTRATION=true, later self-registered accounts become operator (not admin). Prefer leaving open registration off and creating viewers/operators under Users.
After login checklist
| Step | Where |
|---|---|
| Set display name / avatar | Account (full-width ops-hero + profile / security cards) |
| Optional 2FA | Account → TOTP + backup codes and/or passkeys — or force 2FA for all. Regenerating backup codes needs password and a live 2FA code. Trusted devices show type, last IP, and optional rename. |
| Optional SSO | Admin: Settings → General → SSO — SSO / OpenID Connect. Users can link IdP from Account or auto-link by email on first SSO login. |
| Push notifications | Account → Push (after HTTPS / PWA) |
| Timezone | Settings → General |
| Pins (★) | After you have hosts/maps you care about, pin them — Pins & host jump |
| Version / About | Footer shows version only when signed in; About under avatar menu (anonymous chrome never shows the version string) |
| Create operators/viewers | Users (admin) — after first admin, no public self-register |
| Add first server | Add a server |
Admin quick checklist
- Create operators/viewers via Users → Create user (modal + one-time credentials); share invite passwords carefully.
- Optionally set Who must enrol 2FA under Settings → Security policy (everyone, operators+, or admins).
- Leave web SSH off unless you need it (
PIHERDER_SSH_CONSOLE). If you turn it on, tune Settings → Console (idle / slots) — web SSH. Host Files is also default off (PIHERDER_HOST_FILES) — Host Files. - Optionally configure SSO / OIDC (Settings → General) once TLS and public URL are stable — SSO guide. Keep at least one break-glass local admin password.
5. Per server: Edit → Features → then Schedules for checks → only then consider apply schedules. Remove a host later via Edit → Remove.
6. Prefer “only if updates” on apply schedules; start with a quiet weekly window.
7. For mobile push: trusted TLS + PWA & Web Push; open in-app alerts from the bell.
8. DR: Settings → PiHerder backup; keep PIHERDER_MASTER_KEY offline safe.